


Free animated educational videos
In an exciting partnership, we’ve joined forces with FQE, ...
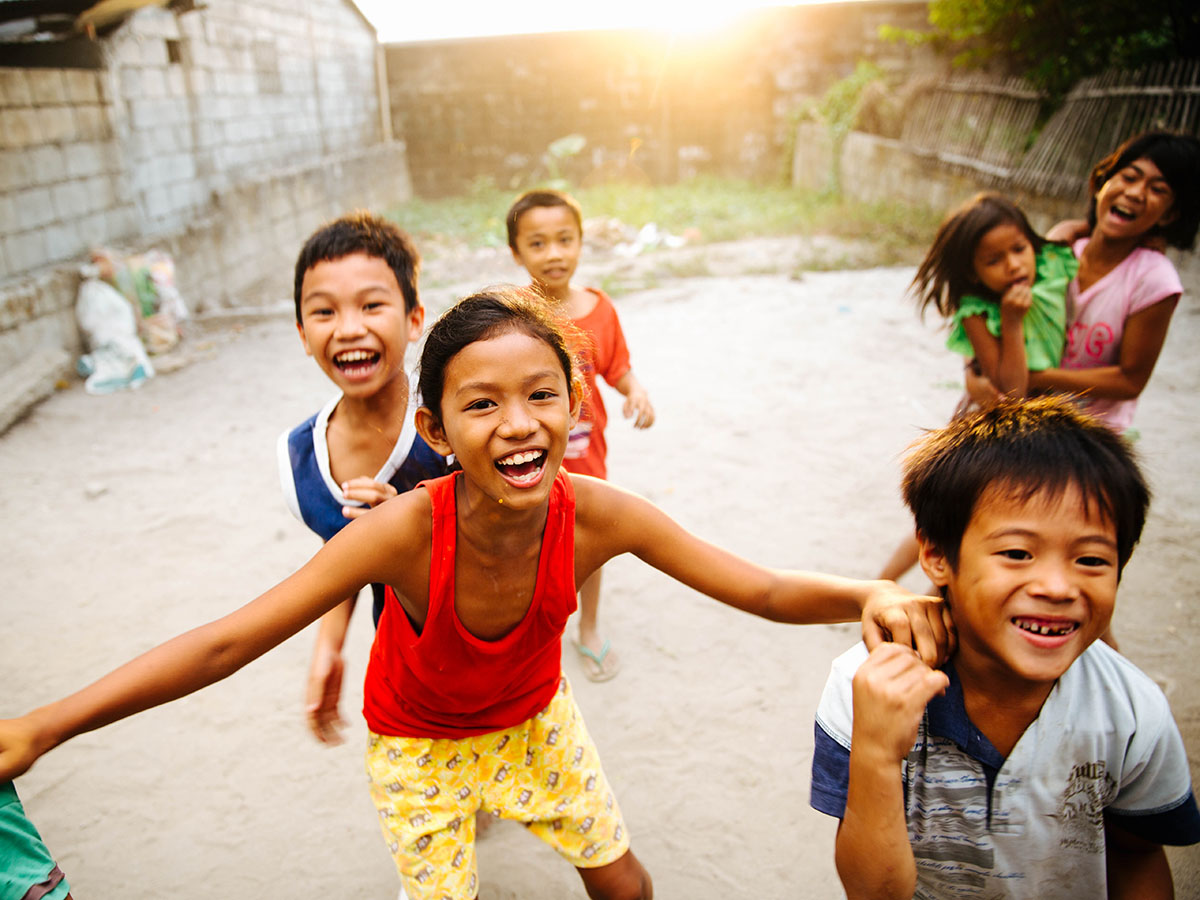
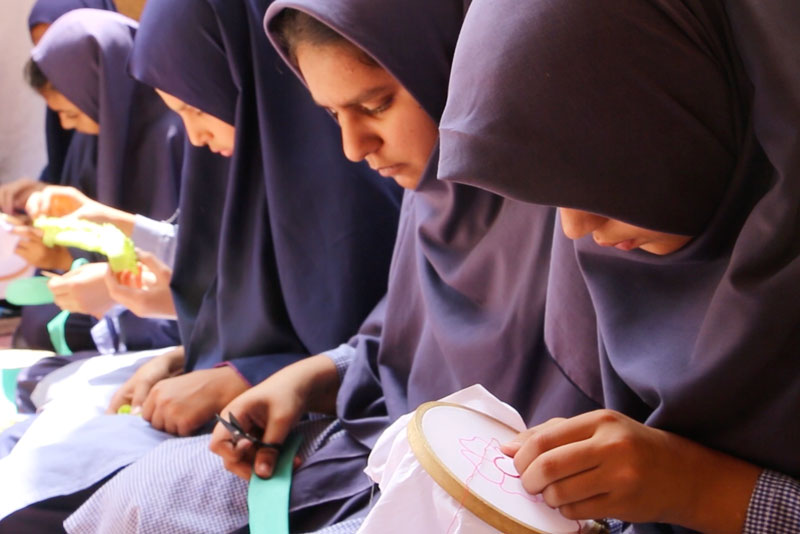
Computer Skills Center For Under Privileged Students
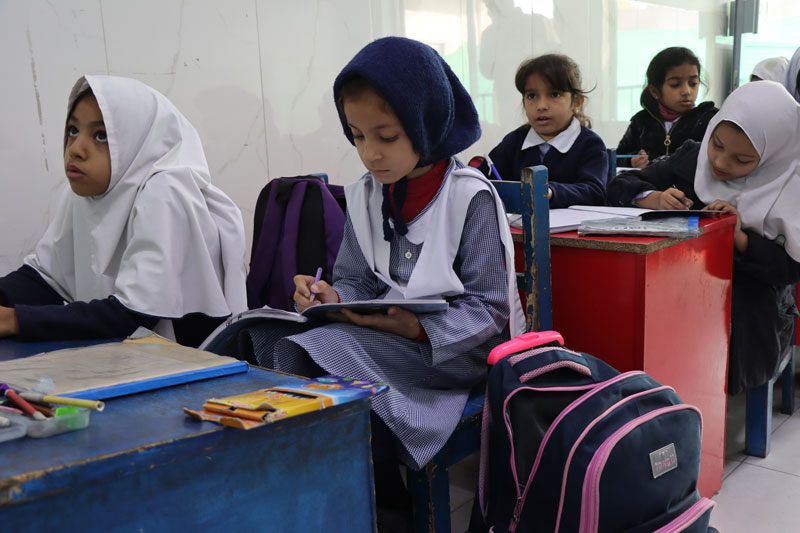
Islah Public School has been a beacon of support ...
“
Asting has done many works for poor people such as helping children of poor families to return school, supplying fresh water for thousands of people. Their work is amazing.
- Kevin Martin
“
They have kept thousands of children around the world healthy, educated and safe. They have worked in the hardest-to-reach destinations, which have many people in need.
- Jessica Brown
“
Asting have created a lot of safe spaces for children, poor people and the homeless in emergencies and they help to decline children marriage in asia countries and others.
- David Cooper
“
Asting has done many works for poor people such as helping children of poor families to return school, supplying fresh water for thousands of people. Their work is amazing.
- Kevin Martin
“
They have kept thousands of children around the world healthy, educated and safe. They have worked in the hardest-to-reach destinations, which have many people in need.
- Jessica Brown