
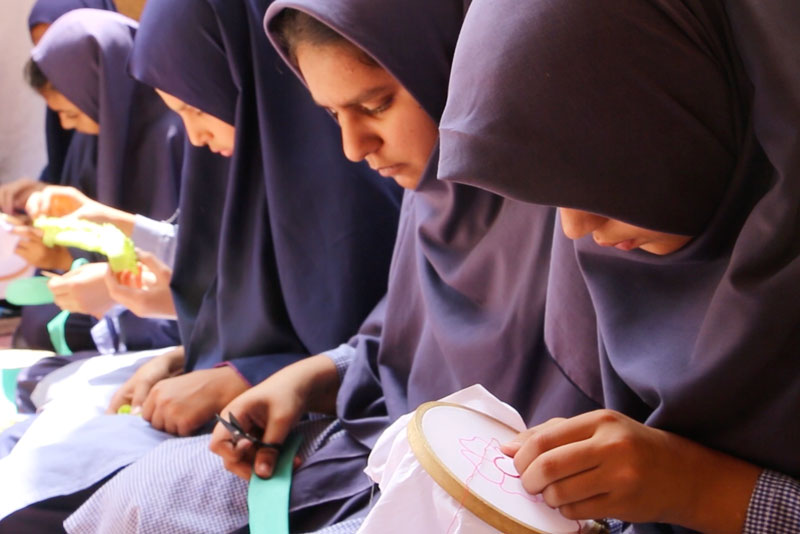
TechVoc – Skills for Livelihoods
In partnership with Mishkat Welfare Trust, TechVoc offers short, ...
Education for Underserved Children
We support Islah Public School, Rawalpindi, in delivering quality ...

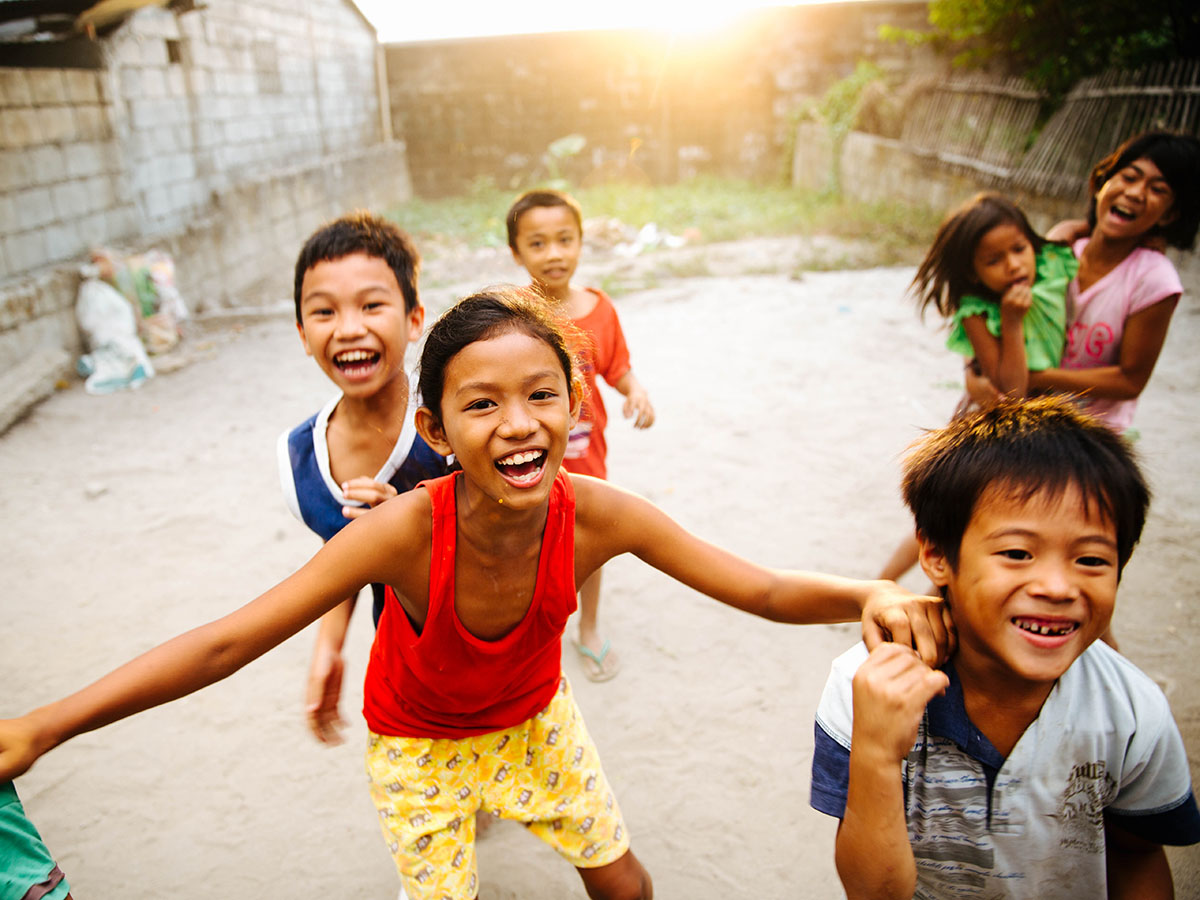
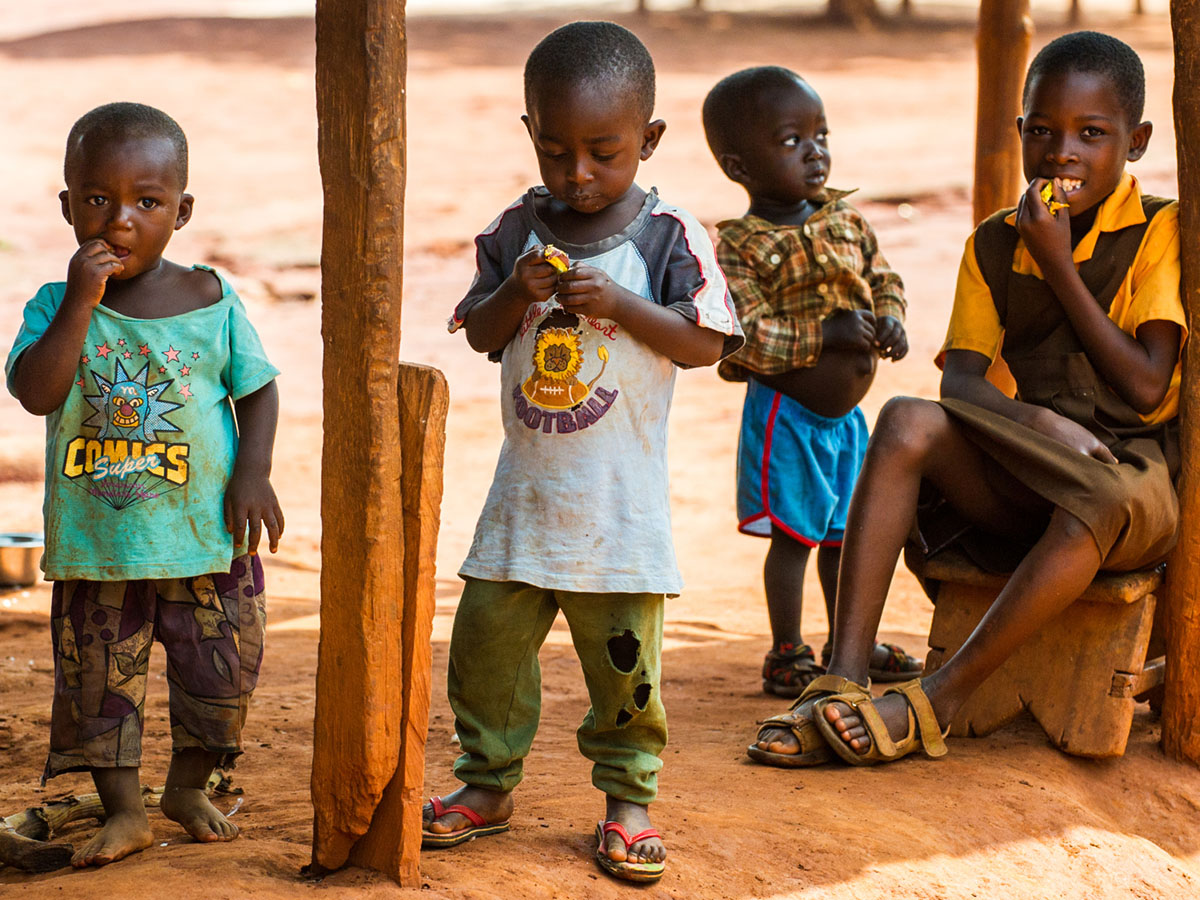
Donate to poor children to return school
Many kids can't come back to school because of ...
“
Asting has done many works for poor people such as helping children of poor families to return school, supplying fresh water for thousands of people. Their work is amazing.
- Kevin Martin
“
They have kept thousands of children around the world healthy, educated and safe. They have worked in the hardest-to-reach destinations, which have many people in need.
- Jessica Brown
“
Asting have created a lot of safe spaces for children, poor people and the homeless in emergencies and they help to decline children marriage in asia countries and others.
- David Cooper
“
Asting has done many works for poor people such as helping children of poor families to return school, supplying fresh water for thousands of people. Their work is amazing.
- Kevin Martin
“
They have kept thousands of children around the world healthy, educated and safe. They have worked in the hardest-to-reach destinations, which have many people in need.
- Jessica Brown